
手把手教你GitBook使用
你好,我是悦创。
详细的记录了一步步搭建自己的电子文档笔记
1. 环境搭建
1.1 安装 Nodejs
大佬级别直接看下面这句话,就没啥问题:
这个安装很简单,只需要下载,然后一路 next 即可。下载链接:https://nodejs.org/en/
小白继续看看下来:
用于所有主流平台的官方软件包,可访问 http://nodejs.cn/download/
安装 Node.js 的其中一种非常便捷的方式是通过软件包管理器。 对于这种情况,每种操作系统都有其自身的软件包管理器。
在 macOS 上,Homebrew 是业界的标准,在安装之后可以非常轻松地安装 Node.js(通过在 CLI 中运行以下命令):
brew install node其他适用于 Linux 和 Windows 的软件包管理器列出在 https://nodejs.org/en/download/package-manager/。
nvm 是一种流行的运行 Node.js 的方式。 例如,它可以轻松地切换 Node.js 版本,也可以安装新版本用以尝试并且当出现问题时轻松地回滚。
这对于使用旧版本的 Node.js 来测试代码非常有用。
详见 https://github.com/creationix/nvm。
建议,如果刚入门并且还没有用过 Homebrew,则使用官方的安装程序,否则,Homebrew 是更好的解决方案。
无论如何,当安装 Node.js 之后,就可以在命令行中访问 node 可执行程序。
1.2 gitbook-cli 脚手架安装
- 命令安装
npm install -g gitbook-cli- 版本验证
# gitbook -V
CLI version: 2.3.2
GitBook version: 3.2.3
编译器的选择:推荐下面两个
vscode
Typora
sublimeText3
2. 创建目录,初始化
mkdir gitbook-imsdk   // 创建项目目录
cd gitbook-imsdk
gitbook init  // 初始化目录
PS: 如果初始化报错的话:
TypeError [ERR_INVALID_ARG_TYPE]: The "data" argument must be of type string or an instance of Buffer, TypedArray, or DataView. Received an instance of Promise经排查,node 版本过高,降低一下 nodejs 版本即可。但是需要重新安装?——可以重新安装,但是不划算也没有技术的体现。使用 nvm,至于什么是 nvm 点击此文章阅读:NVM 常用命令
nvm list
nvm use vxxxx
然后从新进入 cd gitbook-imsdk
gitbook init
PS:
# nvm list

  * 14.18.0 (Currently using 64-bit executable)
    10.12.0

# nvm use v10.12.0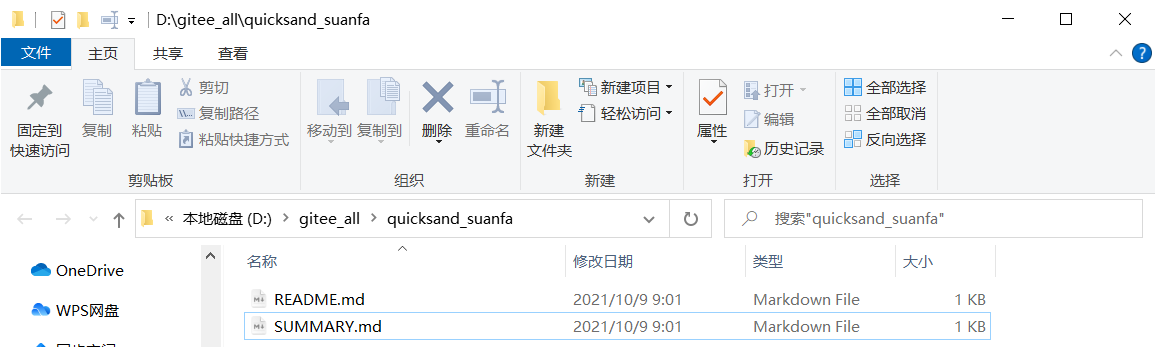
Now using node v10.12.0 (64-bit)初始化完成,默认生成两个文件:SUMMARY.md,README.md
3. 详细说明
3.1 编写 README and SUMMARY
此文件为章节目录设置文件,如果我们想为我们的创作添加章节目录,我们可以利用 Sumary.md 文件进行章节目录划分,此文件的书写格式也比较简单,例如:
3.1.1 README.md
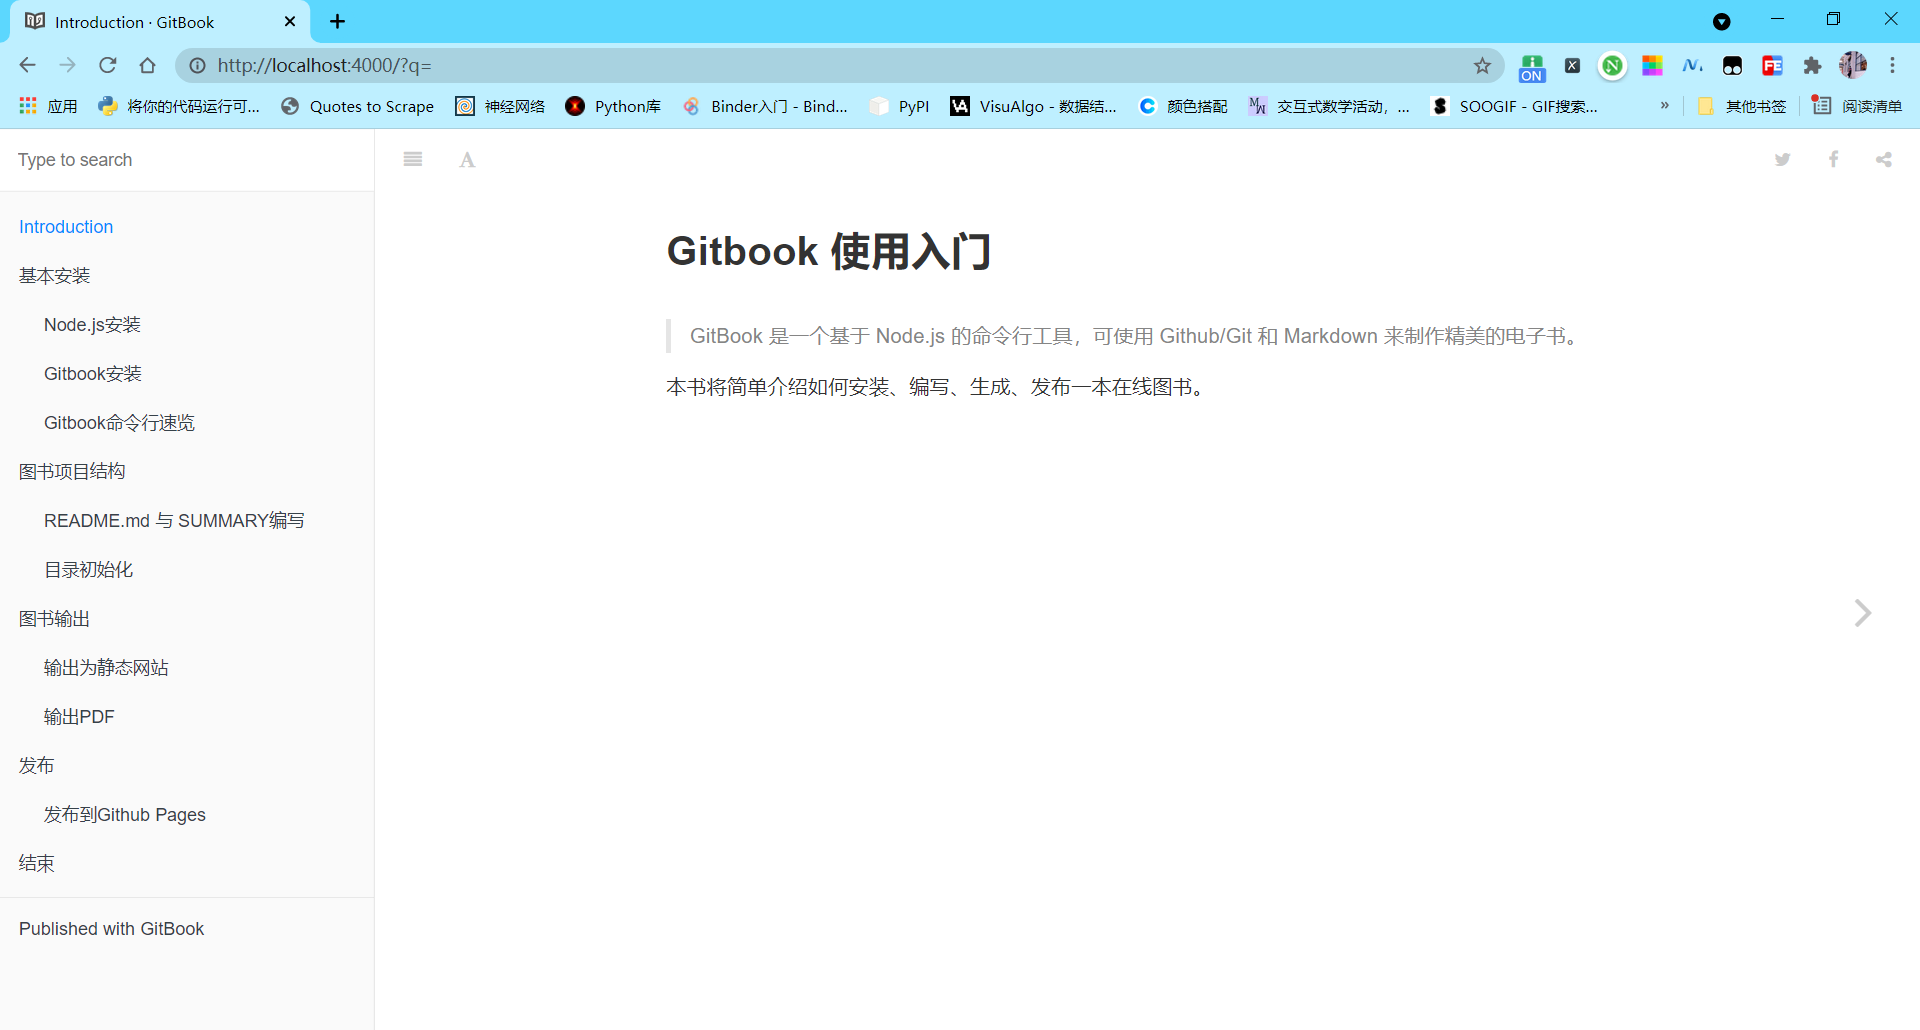
这个文件相对于是一本 Gitbook 的简介,比如我们这本书的 README.md :
# Gitbook 使用入门


> GitBook 是一个基于 Node.js 的命令行工具,可使用 Github/Git 和 Markdown 来制作精美的电子书。

本书将简单介绍如何安装、编写、生成、发布一本在线图书。
3.1.2 SUMMARY.md
这个文件相对于是一本书的目录结构。比如我们这本书的 SUMMARY.md :
# Summary

* [Introduction](README.md)
* [基本安装](howtouse/README.md)
   * [Node.js安装](howtouse/nodejsinstall.md)
   * [Gitbook安装](howtouse/gitbookinstall.md)
   * [Gitbook命令行速览](howtouse/gitbookcli.md)
* [图书项目结构](book/README.md)
   * [README.md 与 SUMMARY编写](book/file.md)
   * [目录初始化](book/prjinit.md)
* [图书输出](output/README.md)
   * [输出为静态网站](output/outfile.md)
   * [输出PDF](output/pdfandebook.md)
* [发布](publish/README.md)
   * [发布到Github Pages](publish/gitpages.md)
* [结束](end/README.md)
SUMMARY.md 基本上是列表加链接的语法。链接中可以使用目录,也可以使用。
3.2 本地预览
3.2.1 gitbook init
在预览之前,还需要做一步操作。
当 README.md、SUMMARY.md 创建完毕之后,我们可以使用 Gitbook 的命令行工具将这个目目录结构生成相应地目录及文件
$ gitbook init # 命令得到的输出省略

$ ls
README.md    SUMMARY.md    book    end    howtouse    output    publish

$tree
.
├── README.md
├── SUMMARY.md
├── book
│   ├── README.md
│   ├── file.md
│   └── prjinit.md
├── howtouse
│   ├── Nodejsinstall.md
│   ├── README.md
│   ├── gitbookcli.md
│   └── gitbookinstall.md
├── output
│   ├── README.md
│   ├── outfile.md
│   └── pdfandebook.md
└── publish
    ├── README.md
    └── gitpages.md
我们可以看到,gitbook 给我们生成了与 SUMMARY.md 所对应的目录及文件。
每个目录中,都有一个 README.md 文件,用于描述这一章的说明。
3.2.2 gitbook serve
接下来,我们使用
gitbook serve ./{book_name}我的操作,启动服务,进行预览:
gitbook serve启动完之后,浏览器输入:http://localhost:4000
注意:
可以事先创建好文章目录,通过执行 gitbook init 自动生成对应的文件,然后在 gitbook serve。
3.3 图书输出
目前为止,Gitbook 支持如下输出:
- 静态 HTML,可以看作一个静态网站
- PDF 格式
- eBook格式
- 单个 HTML 文件
- JSON 格式
我们这里着重说下如何输出静态的 HTML 和 PDF 文件。
3.3.1 输出为静态网站
你有两种方式输出一个静态的网站:
1. 本地预览是自动生成
当你编辑好 gitbook 文档之后,你可以使用 gitbook 的命令来进行本地预览。
gitbook serve ./{book_name}gitbook 会启动一个 4000 端口用于预览。
比如,通过 gitbook serve 来预览本文档:
clela@AIYC D:\gitee_all\quicksand_suanfa
# gitbook serve
Live reload server started on port: 35729
Press CTRL+C to quit ...

info: 7 plugins are installed
info: loading plugin "livereload"... OK
info: loading plugin "highlight"... OK
info: loading plugin "search"... OK
info: loading plugin "lunr"... OK
info: loading plugin "sharing"... OK
info: loading plugin "fontsettings"... OK
info: loading plugin "theme-default"... OK
info: found 14 pages
info: found 13 asset files
info: >> generation finished with success in 1.0s !

Starting server ...
Serving book on http://localhost:4000
你可以你的浏览器中打开这个网址: http://localhost:4000
你会发现,在你编辑的 gitbook项目的目录中会多一个 _book 目录,而这个目录中就是生成的本地预览的静态网站内容。
2. 使用 gitbook build 参数
与直接预览生成的静态网站不一样的时,使用这个命令,你可以将内容输出到你想要的目录。
Ps:
gitbook build ./{book_name} --output=./{outputFolde}gitbook build [当前路径] [输出路径]gitbook build ./ doc # 默认打包输出到当前路径下面的 doc 文件夹中
$ gitbook build --output=/tmp/gitbook
Starting build ...
Successfuly built !
$ ls /tmp/gitbook/
howtouse          search_index.json
book              imgs              output
gitbook           index.html        publish
注意:
打包成功之后,默认输出的文件放在 _book 文件夹里面,编译之后的入口: index.html
无论哪种方式,你都可以将这个静态网站打包,发布到你想要发布的服务器上,或者直接将这个打包文件给阅读者。
3.3.2 输出 PDF
输出为 PDF 文件,需要先安装 gitbook pdf
npm install gitbook-pdf -g一般来说,不推荐安装全局环境,安装局部环境会比较好。
如果在安装 gitbook-pdf 时,觉得下载 phantomjs 包太慢的话,你可以到 phantomjs 的官方网站上去下载。
http://phantomjs.org/
这个包的安装方式,参考其官网的说明文档。
当然,上面的方法,我试了,以失败告终。所以我换了一种方法。
Windows下使用 gitbook 生成PDF文件:https://www.aiyc.top/1969.html
然后,用下面的命令就可以生成 PDF 文件了。
gitbook pdf {book_name}如果,你已经在编写的 gitbook 当前目录,也可以使用相对路径。
gitbook pdf .然后,你就会发现,你的目录中多了一个名为 book.pdf 的文件。
3.4 查看帮助
clela@AIYC D:\gitee_all\quicksand_suanfa
# gitbook -h

  Usage: gitbook [options] [command]


  Options:

    -v, --gitbook [version]  specify GitBook version to use
    -d, --debug              enable verbose error
    -V, --version            Display running versions of gitbook and gitbook-cli
    -h, --help               output usage information


  Commands:

    ls                        List versions installed locally
    current                   Display currently activated version
    ls-remote                 List remote versions available for install
    fetch [version]           Download and install a <version>
    alias [folder] [version]  Set an alias named <version> pointing to <folder>
    uninstall [version]       Uninstall a version
    update [tag]              Update to the latest version of GitBook
    help                      List commands for GitBook
    *                         run a command with a specific gitbook version
3.5 发布
可以使用 Github Pages 服务将我们写的 gitbook 发布到互联网上,前提是你已经了解了 Git、Github 及 Github Pages 的使用。
3.5.1 发布到 Github Pages
1. 将静态网站直接发布到 Github Pages
可以将编写好的 .md 文件通过 Gitbook 处理成静态网站,然后发布到Github Pages 上。
这个参考这个:[https://www.yuque.com/docs/share/9afacf4e-005e-4c5e-8373-a81af2940a68?# 《利用 GitHub 从零开始搭建一个博客》](https://www.yuque.com/docs/share/9afacf4e-005e-4c5e-8373-a81af2940a68?# 《利用 GitHub 从零开始搭建一个博客》)
3.5.2 使用项目的 Pages 服务
除了上面的直接发布静态文件到 Github Pages 的方法以外,还可以使用一个单独的项目的 Github Pages 功能。
1. 创建仓库与分支
- 登陆到 Github,创建一个新的仓库,名称我们就命名为
book,这样我就得到一个book仓库。(创建的时候小白推荐选上README.md初始化) - 克隆仓库到本地:
git clone git@github.com:/USER_NAME/book.git - 创建一个新分支:
git checkout -b gh-pages,注意,分支名必须为gh-pages。 - 将分支 push 到仓库:
git push -u origin gh-pages。 - 切换到主分支:
git checkout main。
经过这一步处理,我们已经创建了 gh-pages 分支了,有了这个分支,Github会自动为你分配一个网址。
同步静态网站代码到分支:
下面我们就可以将 build 好的静态网站代码同步到 gh-pages 分支中去了。
把 build 成功的文件复制到 book 本地的 book 文件夹中。
- 切换 git 分支
git checkout gh-pages # 需要按上面的步骤操作,上面的步骤操作后也会自动切换分支我的实际操作:
aiyc@aiyc:/mnt/d/Github_pages/book$ git checkout gh-pages
Switched to branch 'gh-pages'
Your branch is up to date with 'origin/gh-pages'.
接下来,输入下面的一系列命令:
git add .
git commit -m "first commit"
git push
然后,等十来分钟后,你就可以访问到你的在线图书了。以后,只要你每次修改之后,将生成静态网站 Copy 到 book 目录,然后运行上面三条命令一下就 OK 了。
后面会更新插件的用法,敬请期待!
欢迎关注我公众号:AI悦创,有更多更好玩的等你发现!
公众号:AI悦创【二维码】

AI悦创·编程一对一
AI悦创·推出辅导班啦,包括「Python 语言辅导班、C++ 辅导班、java 辅导班、算法/数据结构辅导班、少儿编程、pygame 游戏开发」,全部都是一对一教学:一对一辅导 + 一对一答疑 + 布置作业 + 项目实践等。当然,还有线下线上摄影课程、Photoshop、Premiere 一对一教学、QQ、微信在线,随时响应!微信:Jiabcdefh
C++ 信息奥赛题解,长期更新!长期招收一对一中小学信息奥赛集训,莆田、厦门地区有机会线下上门,其他地区线上。微信:Jiabcdefh
方法一:QQ
方法二:微信:Jiabcdefh
更新日志
1c35a-于9567c-于e9733-于eacc7-于2b1df-于dc039-于cbb3a-于610fe-于76989-于86c50-于027da-于